아나콘다 설치 및 실행 (Linux)
리눅스 배포판 종류와 상관없이 설치할 수 있다. 설치 다운로드 페이지에 접속 후 리눅스 버전으로 다운로드 bash로 설치 shellbash Anaconda3.sh 1그냥 엔터 라이센스다. q를 누른 후 yes 입력 설치할 경로 선택. 기본값은 홈 디렉토리에
Posted
Last updated
Series: linux/ubuntu
그냥 내가 설치한 것들
sudo apt -y install \
     net-tools, openssh, curl \
     gcc, g++, make, build-essential \
     rename, p7zip, python3-pip, git, vim, gedit \
     ufw, ffmpeg, gnome-shell-extensions, gimp, icoutils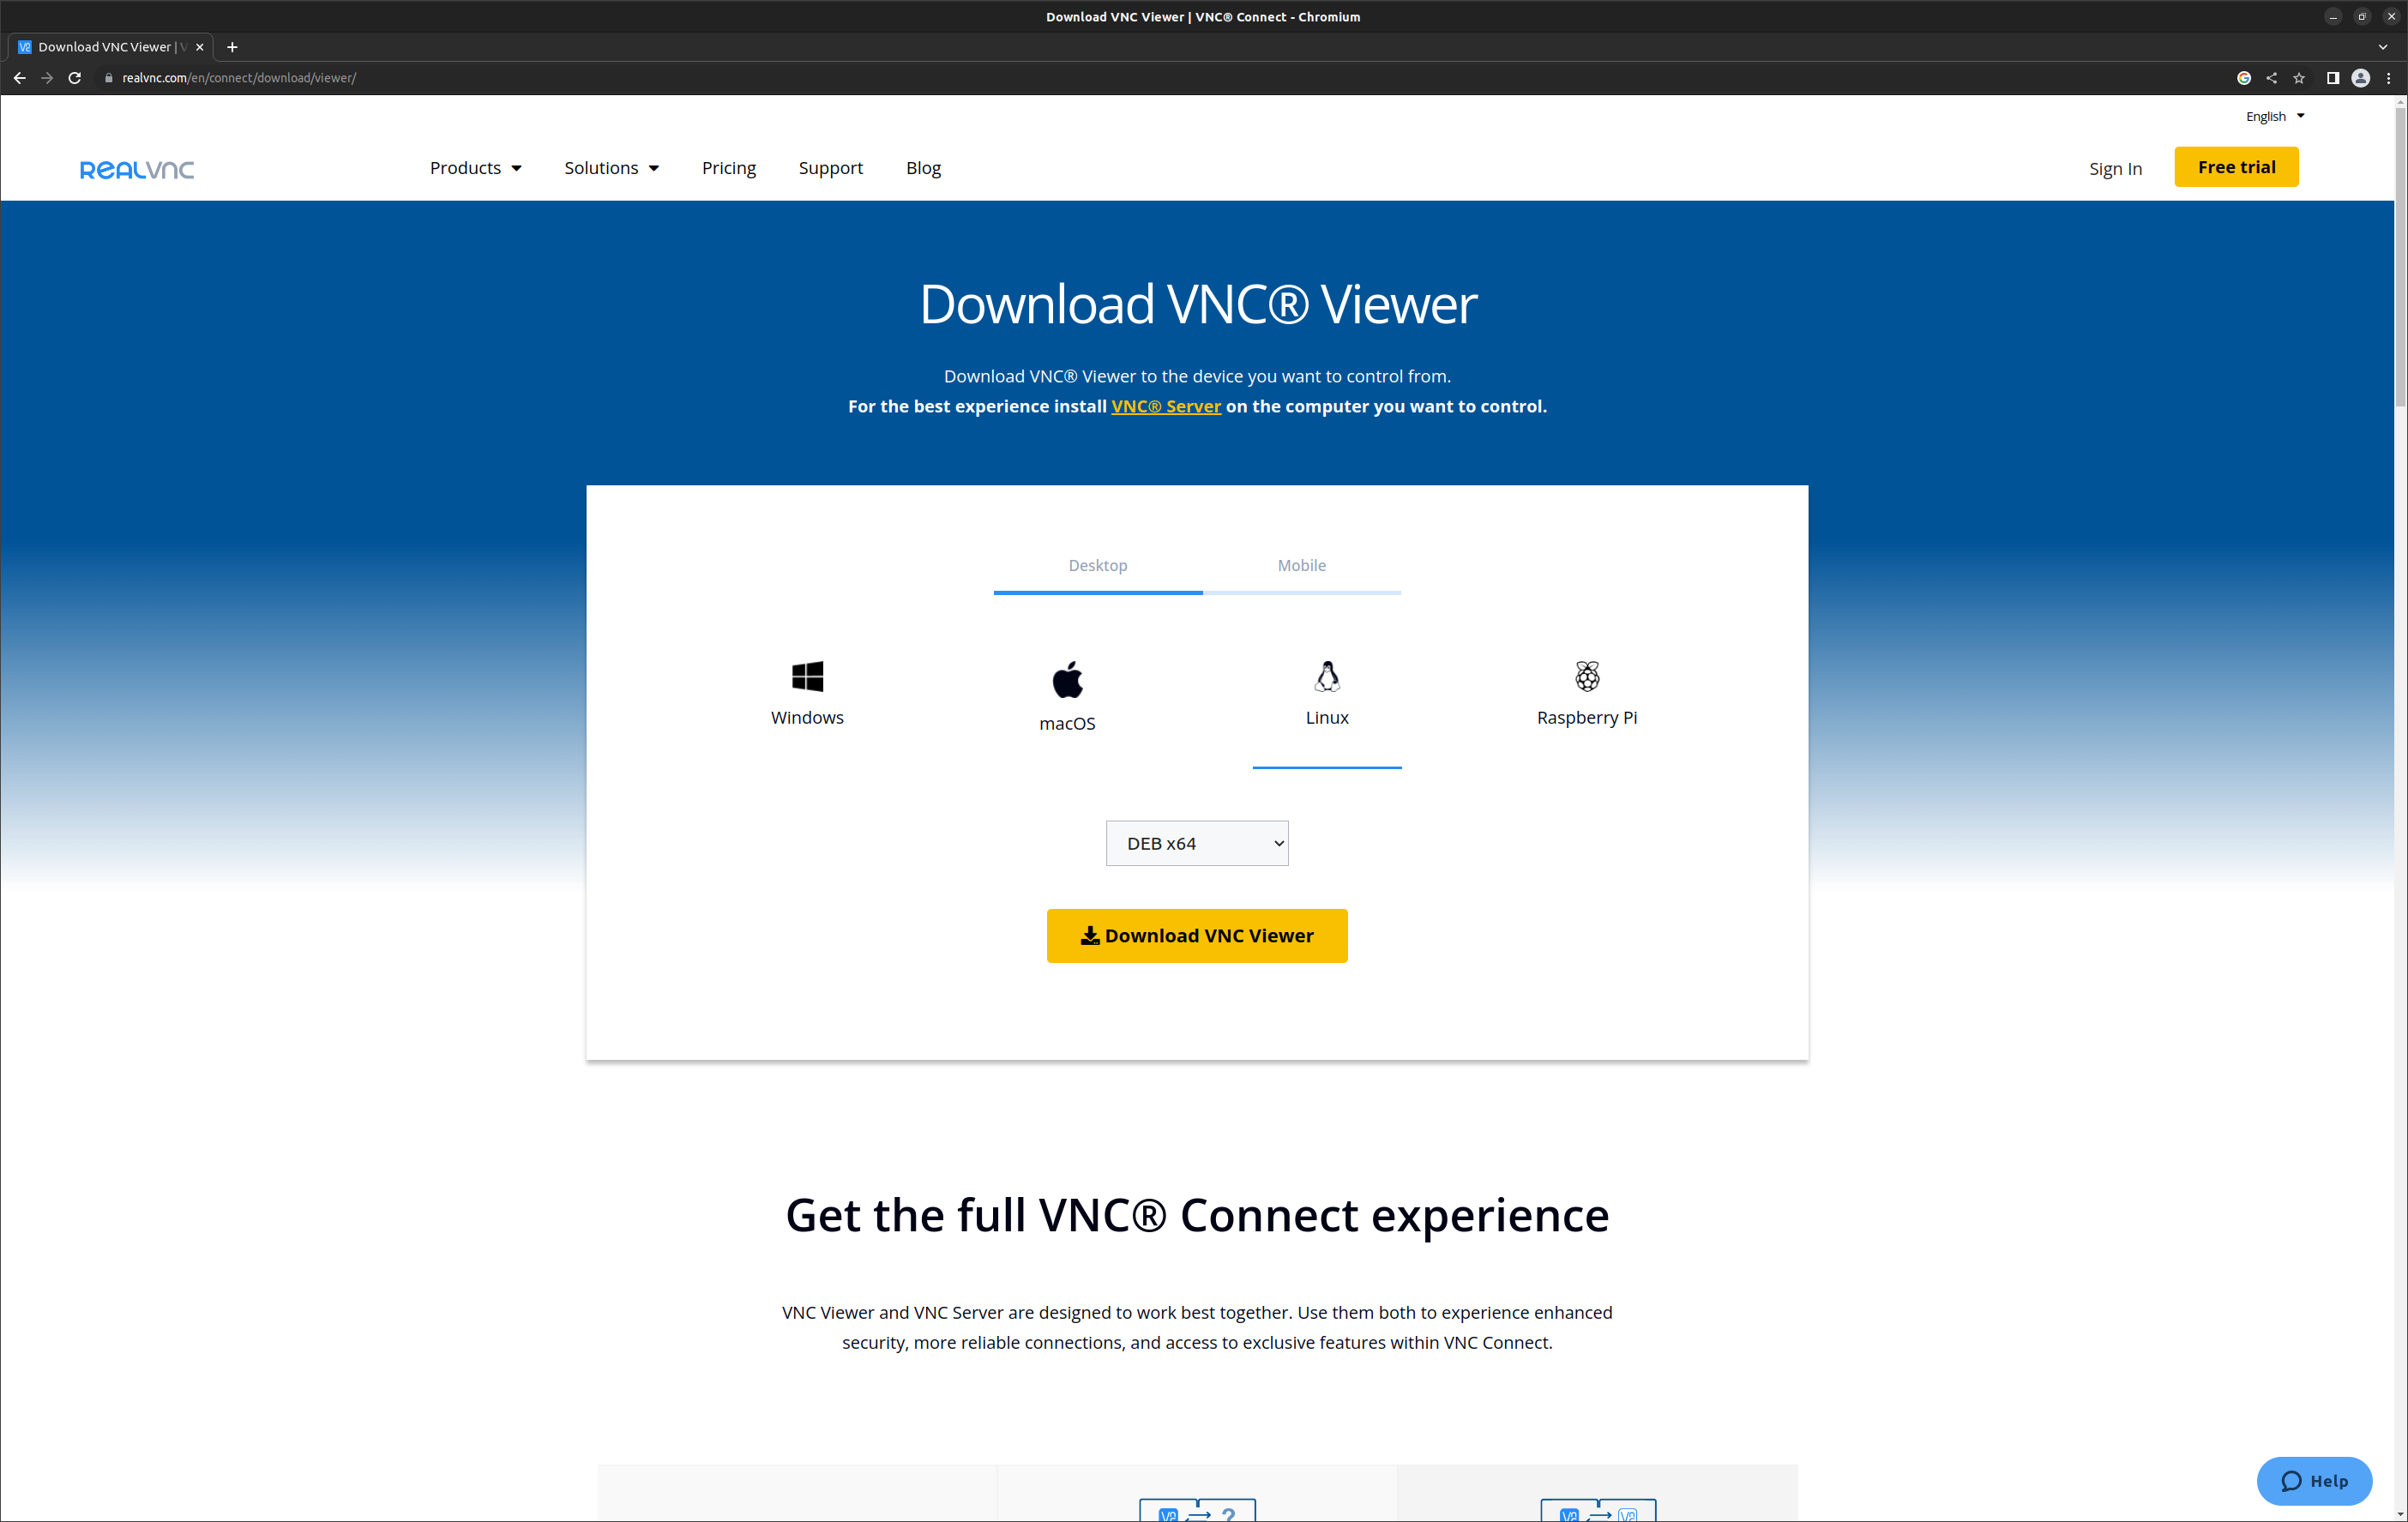
sudo snap install chromium, discord, steam, notion-snap-rebornVNC Viewer 검색 후 다운로드 사이트 접속. 우분투는 데비안 계열이므로 DEB 파일로 다운로드.
dpke 명령어로 설치
sudo dpkg -i VNC-Viewer.deb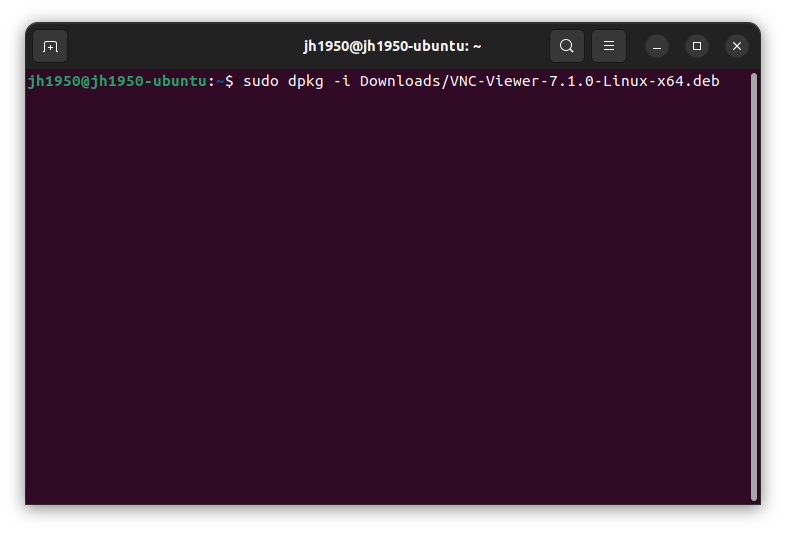
실행은 터미널에서 vncviewer 명령어를 입력하거나 "VNC Viewer" 앱을 누르면 된다.
기본적으로는 OpenVPN, PP2P밖에 없으며, 다른 방식을 사용하려면 추가로 설치해야 한다. VPN 설정은 Settings - Network 탭에서 할 수 있다.
뒤에 -gnome이 없는 패키지도 있는데, 없는 패키지를 설치하면 VPN 설정 시 에러가 표시되며 VPN 이름밖에 설정할 수 없다. 아마 터미널에서 사용하는 전용 패키지인 것 같다. 물론 -gnome 설치 시 없는 패키지도 자동으로 설치가 된다.
sudo apt -y install network-manager-l2tp-gnome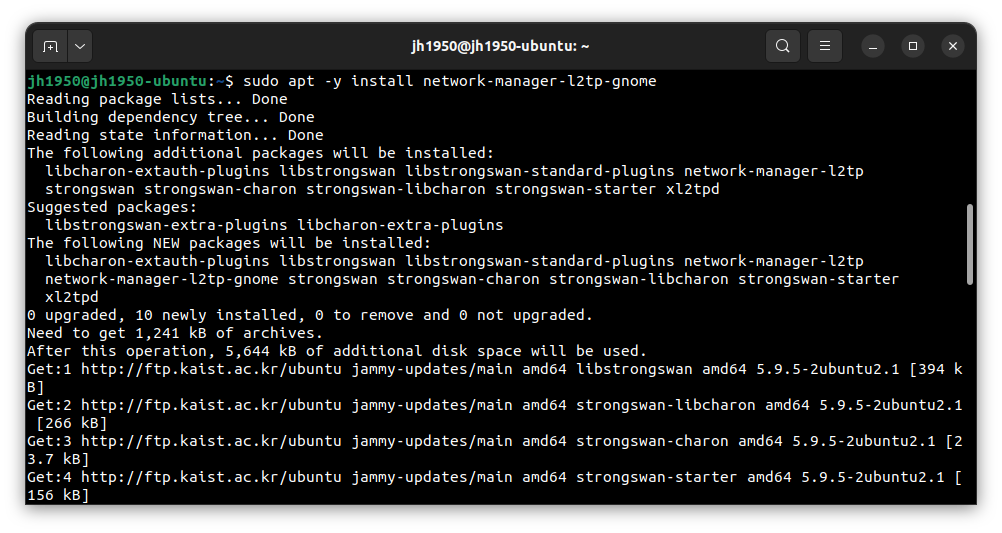
이거 하나만 설치하면 아래 클라이언트를 모두 사용할 수 있다.
sudo apt -y install network-manager-openconnect-gnome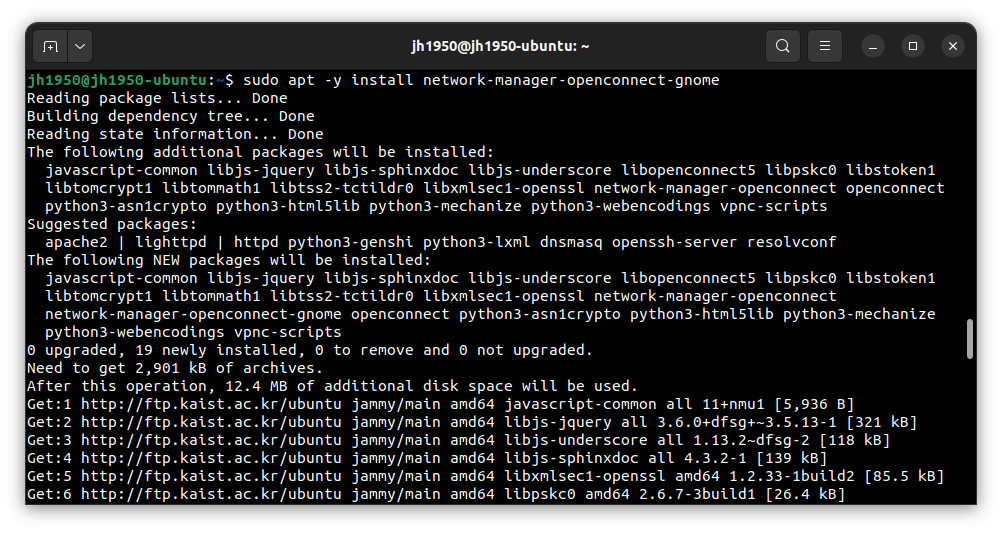
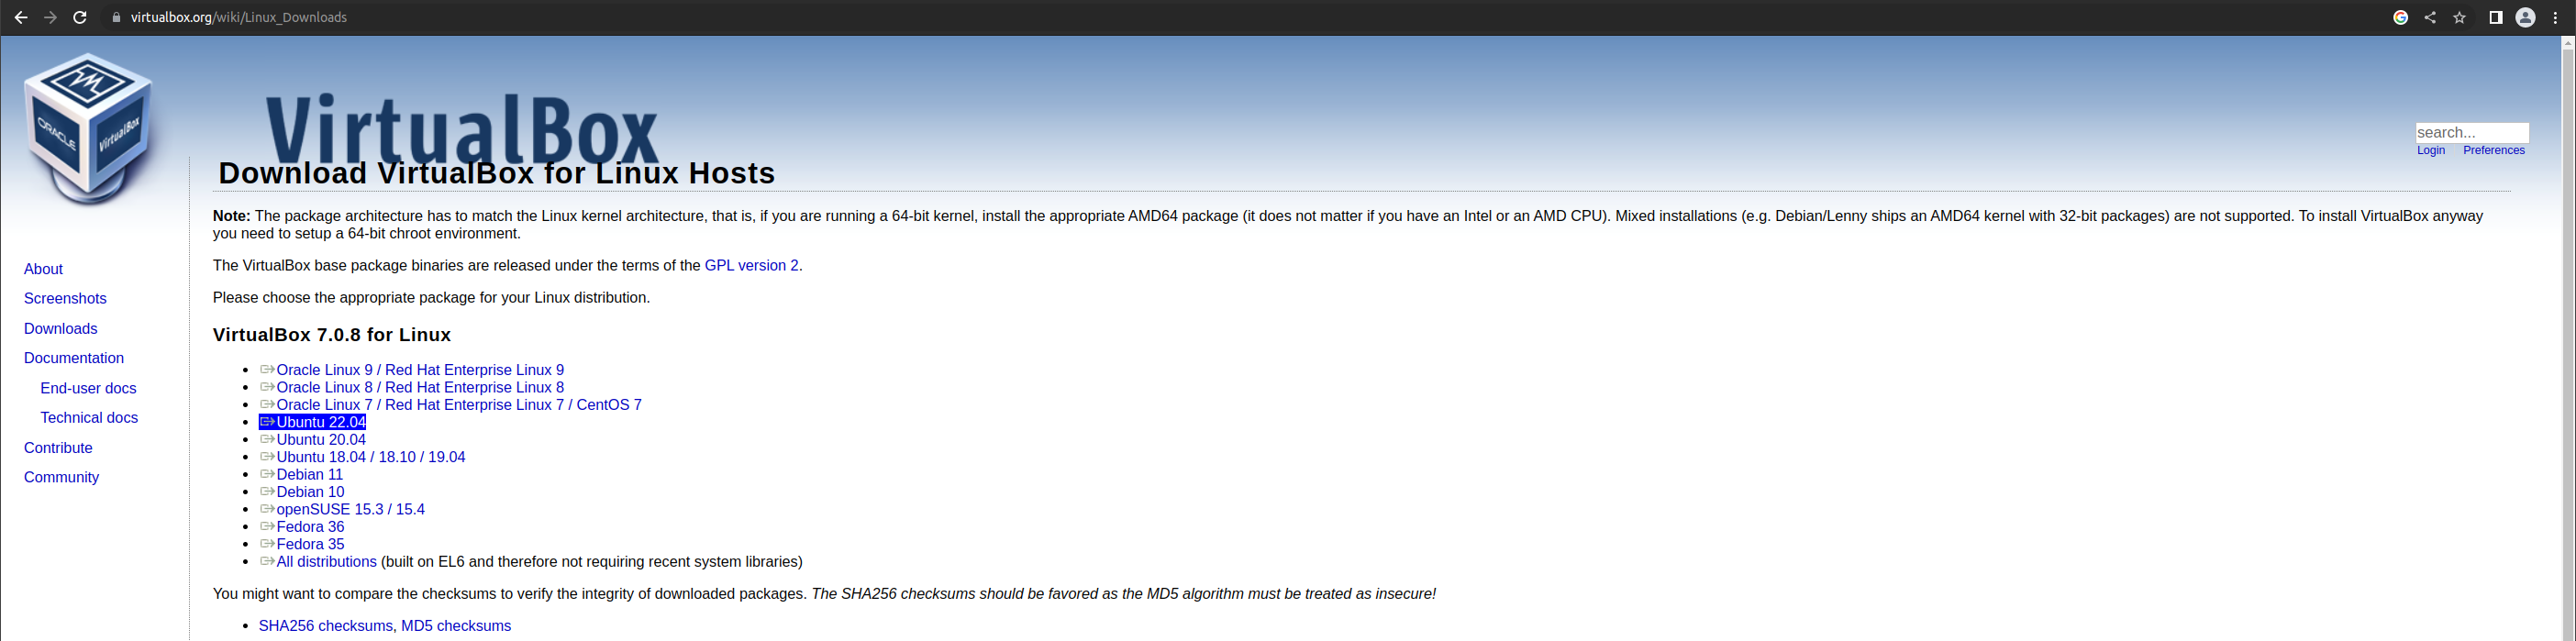
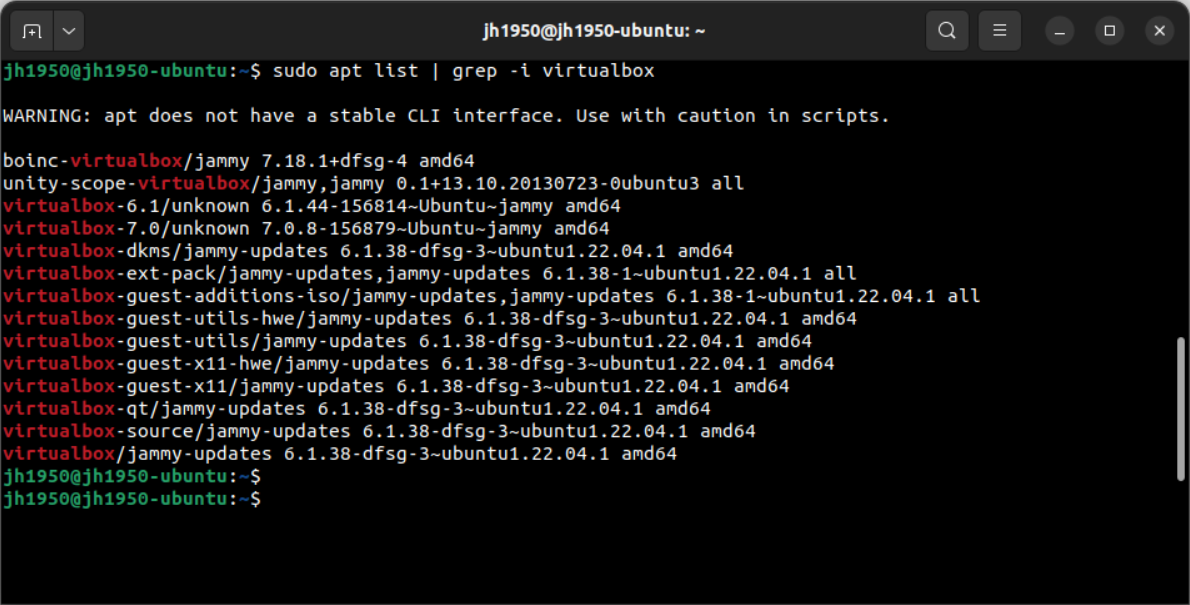
VirtualBox 검색 후 다운로드 사이트 접속.

.deb 파일이 다운로드 되므로 VNC와 마찬가지로 dpkg 명령어로 설치할 수 있다.
sudo dpkg -i virtualbox.deb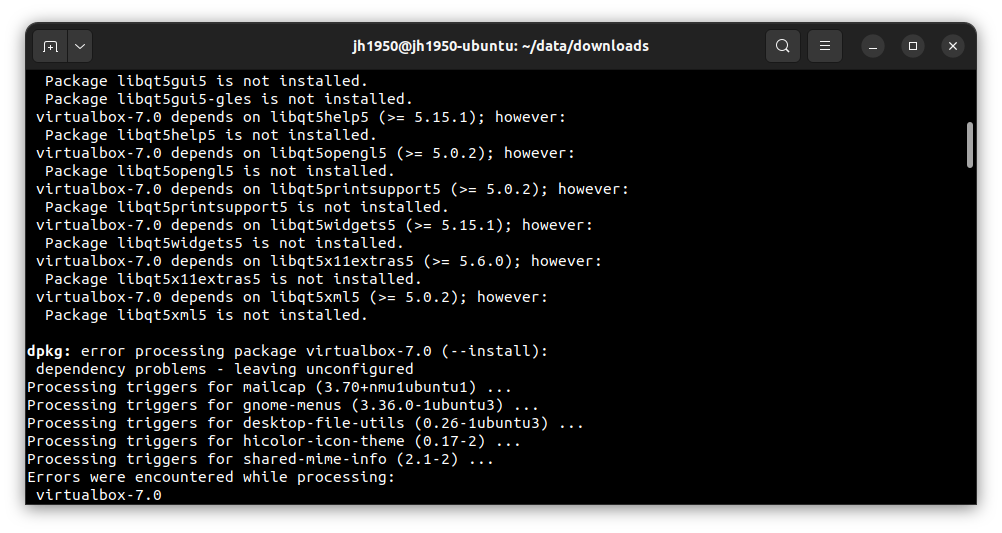
왜 이런진 모르겠지만 에러가 뜬다.
아래 명령어를 입력하면 제대로 설치가 된다.
sudo apt install -f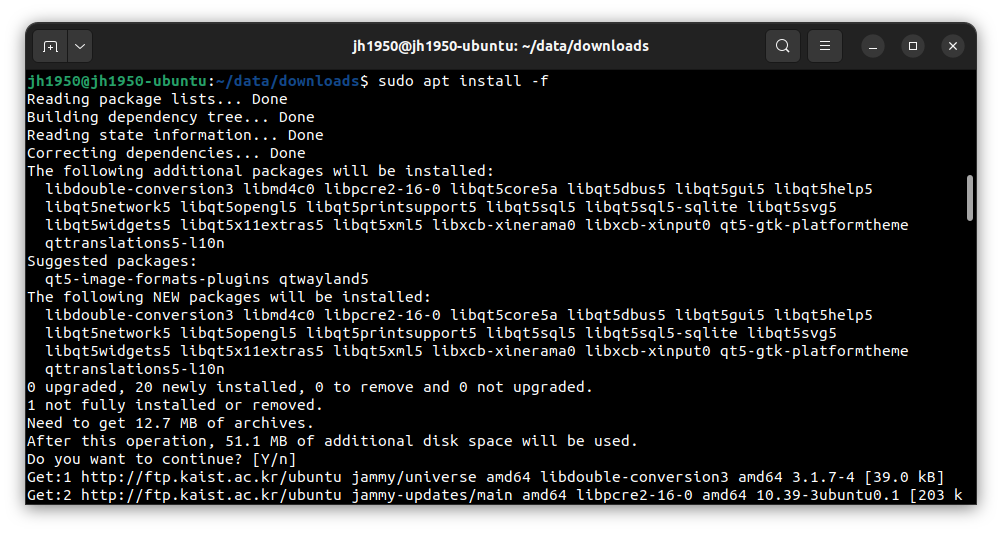
VirtualBox 6, 7 버전의 패키지만 추가되었고 기존에 존재하던 패키지들은 버전이 업데이트되지 않았다. 그래서 그런지 7.0 버전 설치 후 6.1 버전인 virtualbox-ext-pack 패키지를 설치하니 VirtualBox가 6.1 버전으로 다운그레이드 되었다.
파일 다운로드 아래에 "Debian-based Linux distributions" 부분이 있다. 이 부분을 따라 하면 Repository를 추가할 수 있다.
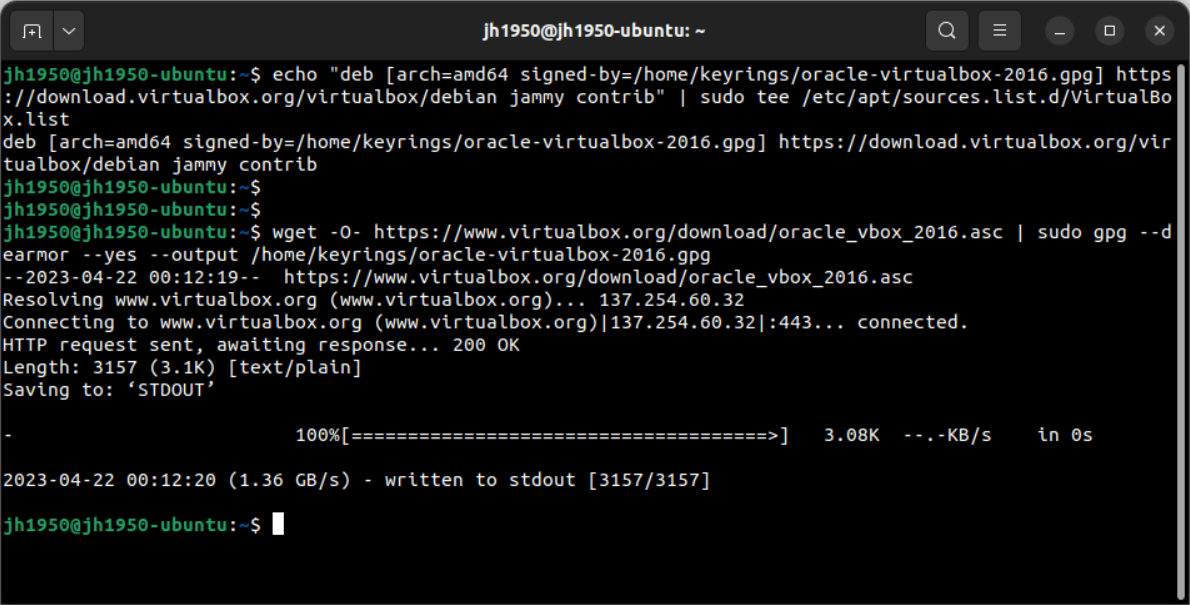
명령어 두 개 입력 <mydist> 부분은 jammy로 변경, 키링 경로도 변경해도 된다.
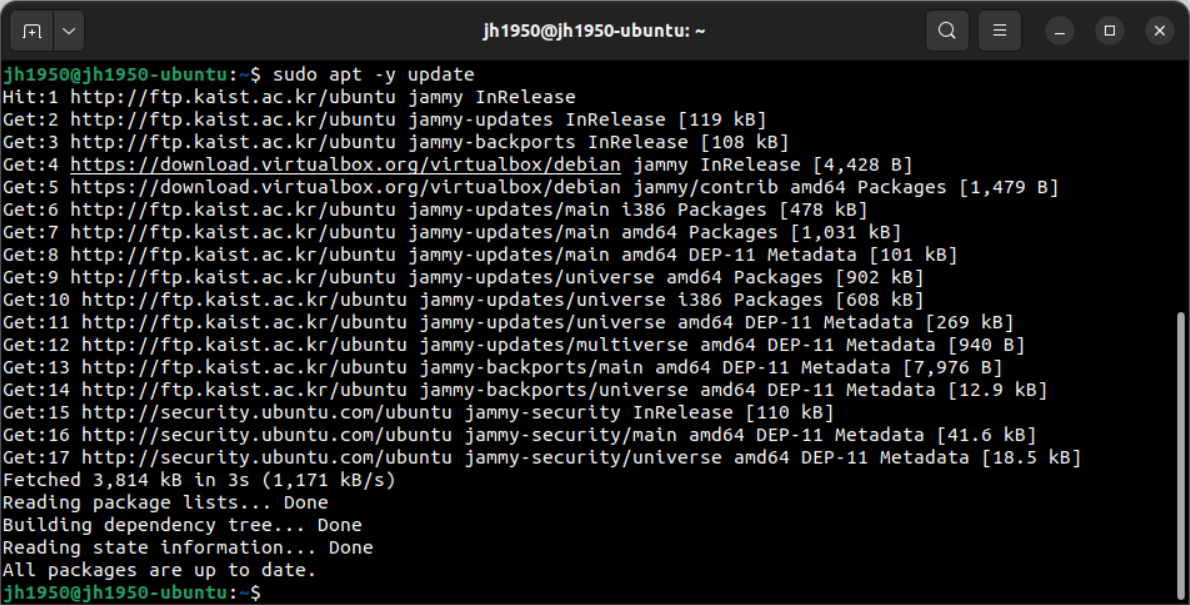
apt update 명령어를 입력하면 VirtualBox의 Repo를 읽어오는 것을 확인할 수 있다.
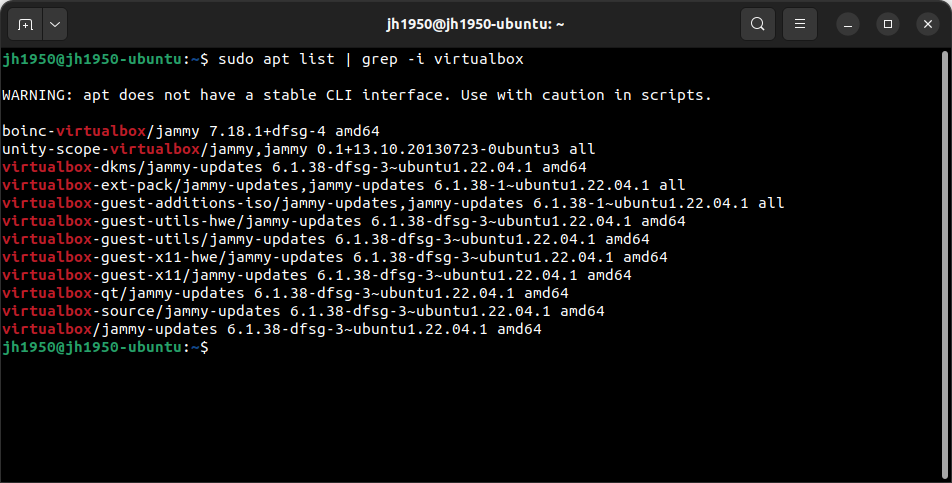
제대로 추가되었나 확인 왼쪽이 Repo 추가하기 전 확인한 내용이다.
7.0 버전으로 설치
sudo apt -y install virtualbox-7.0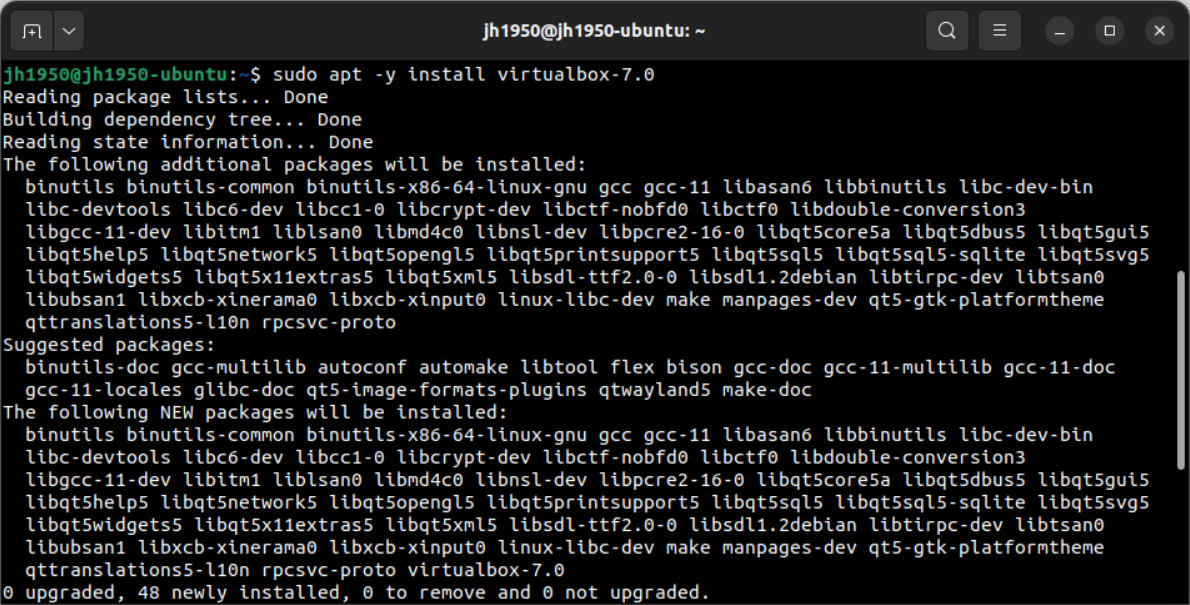
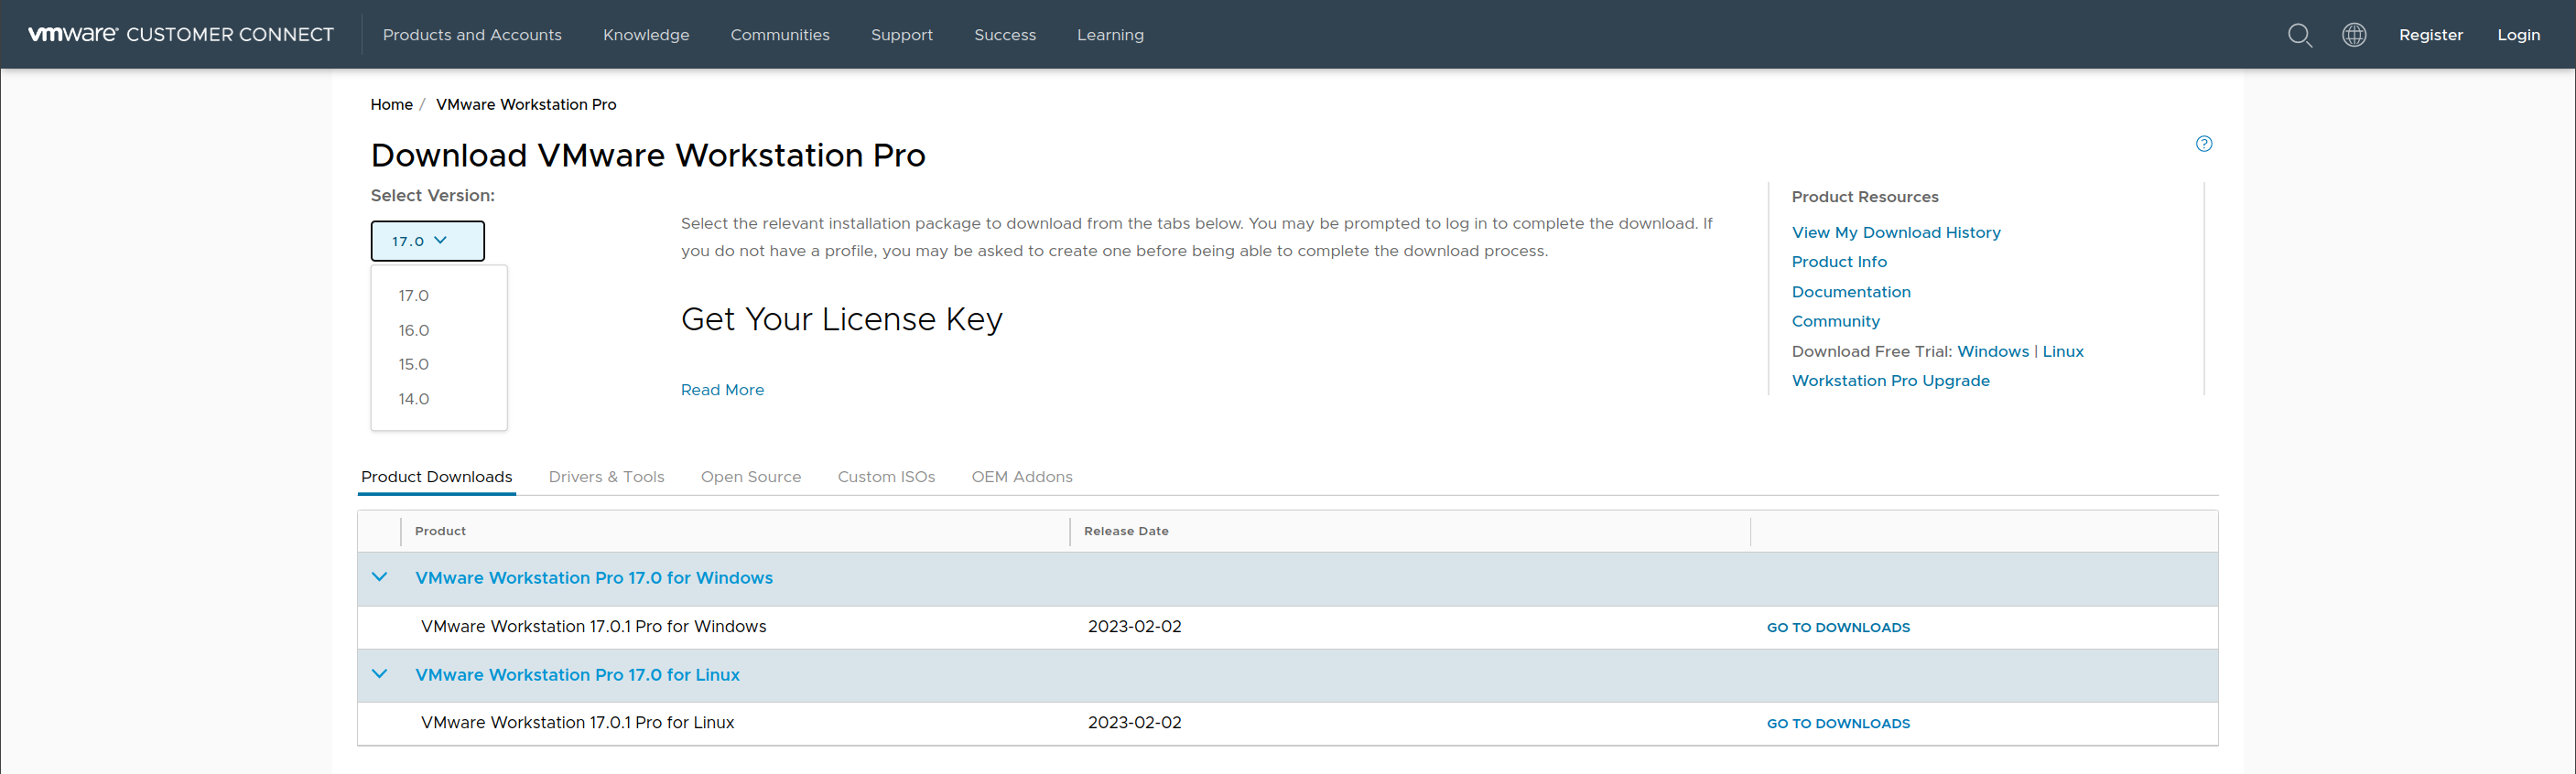
최신 버전의 VMware는 쉽게 찾을 수 있다.
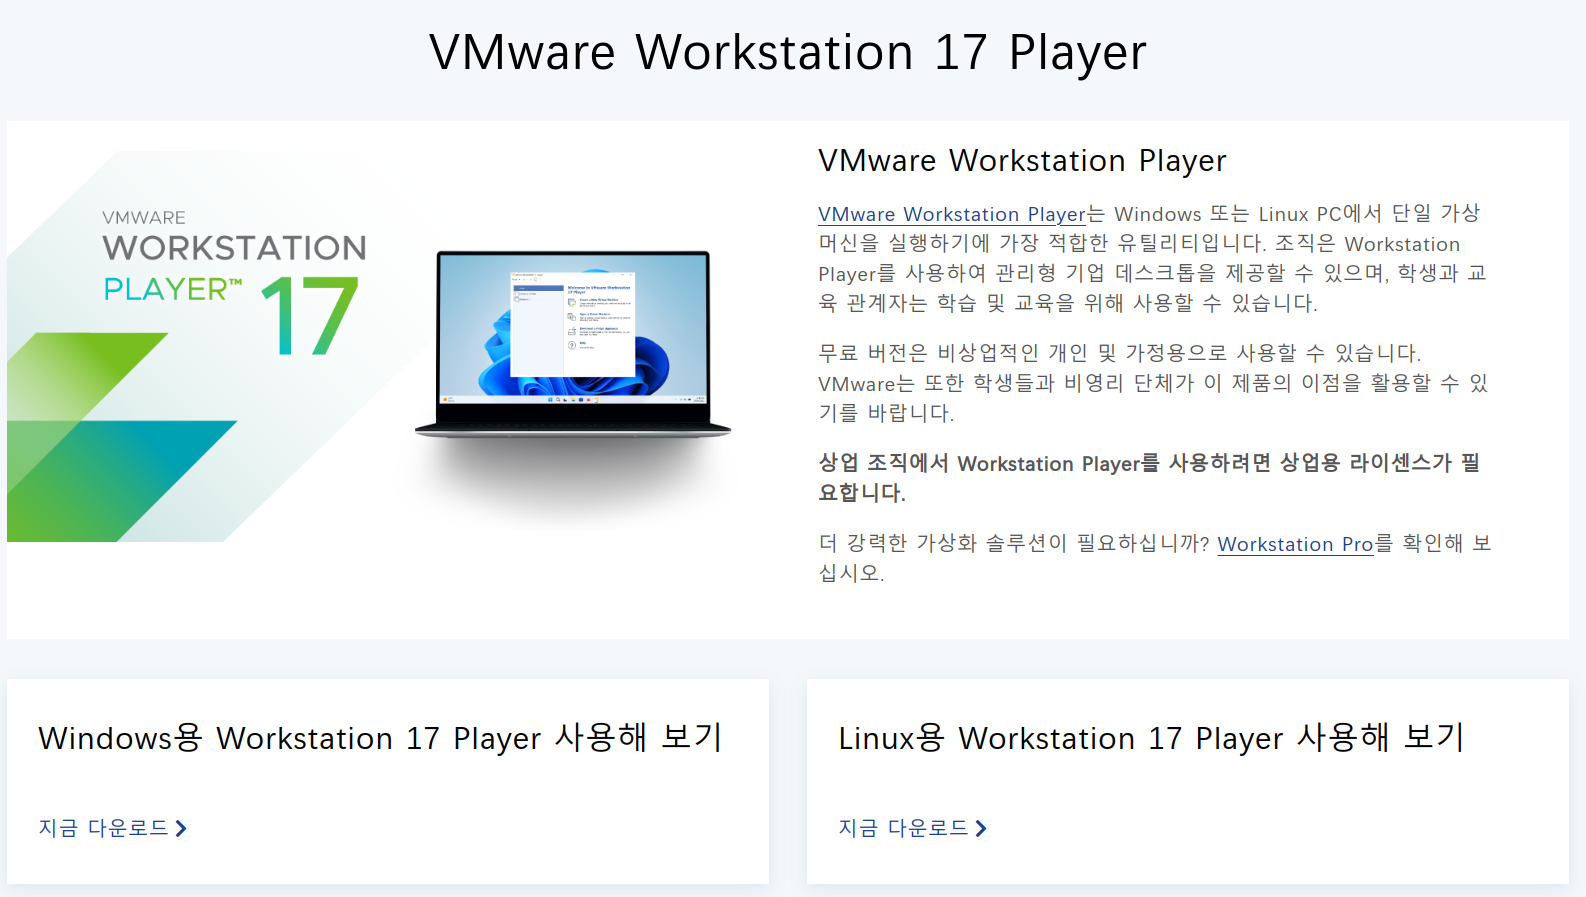
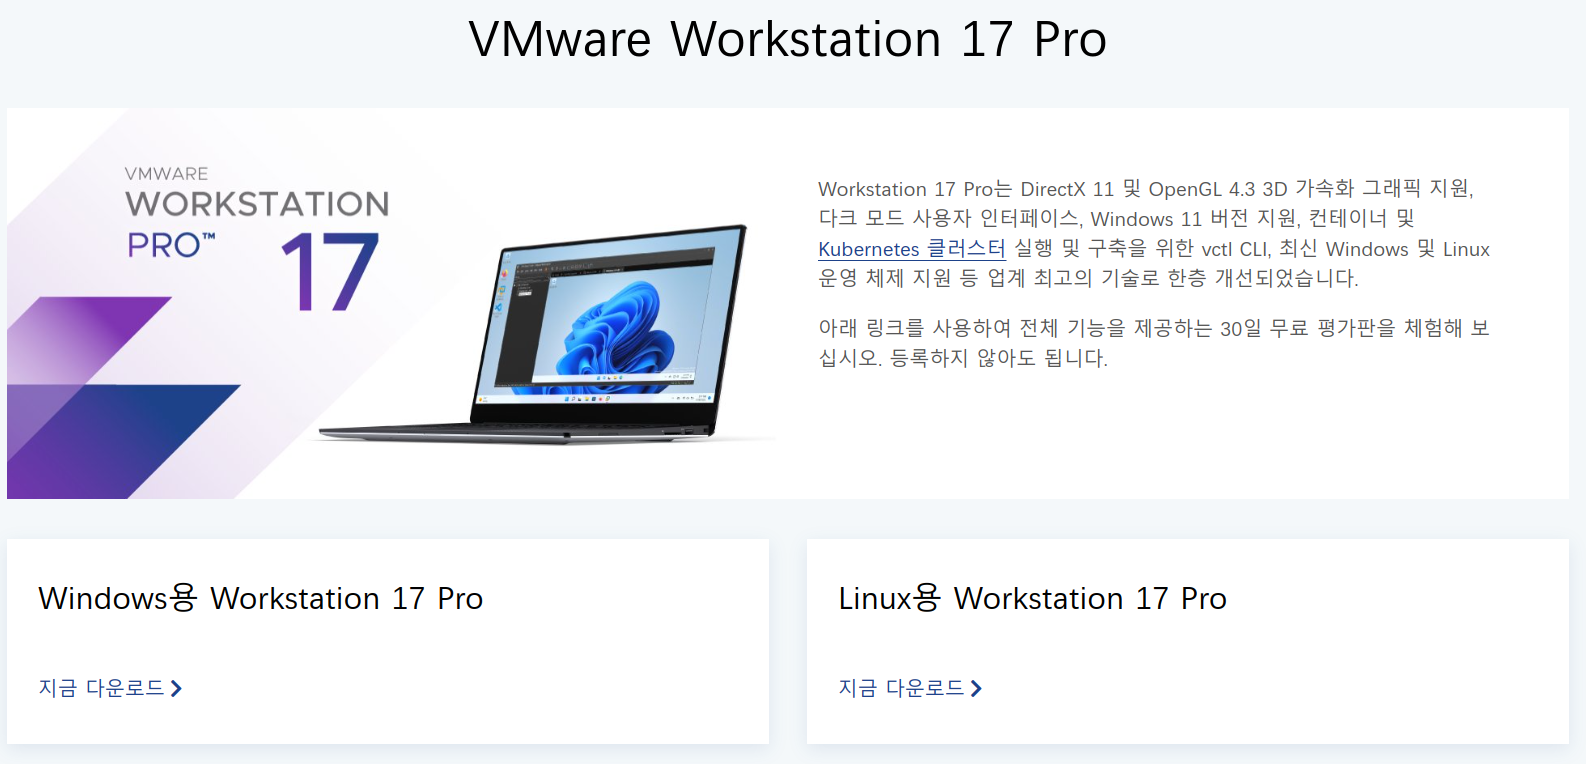
최신 버전이 아닌 다른 버전을 받으려면 아래 사이트에서 원하는 버전을 선택하면 된다.
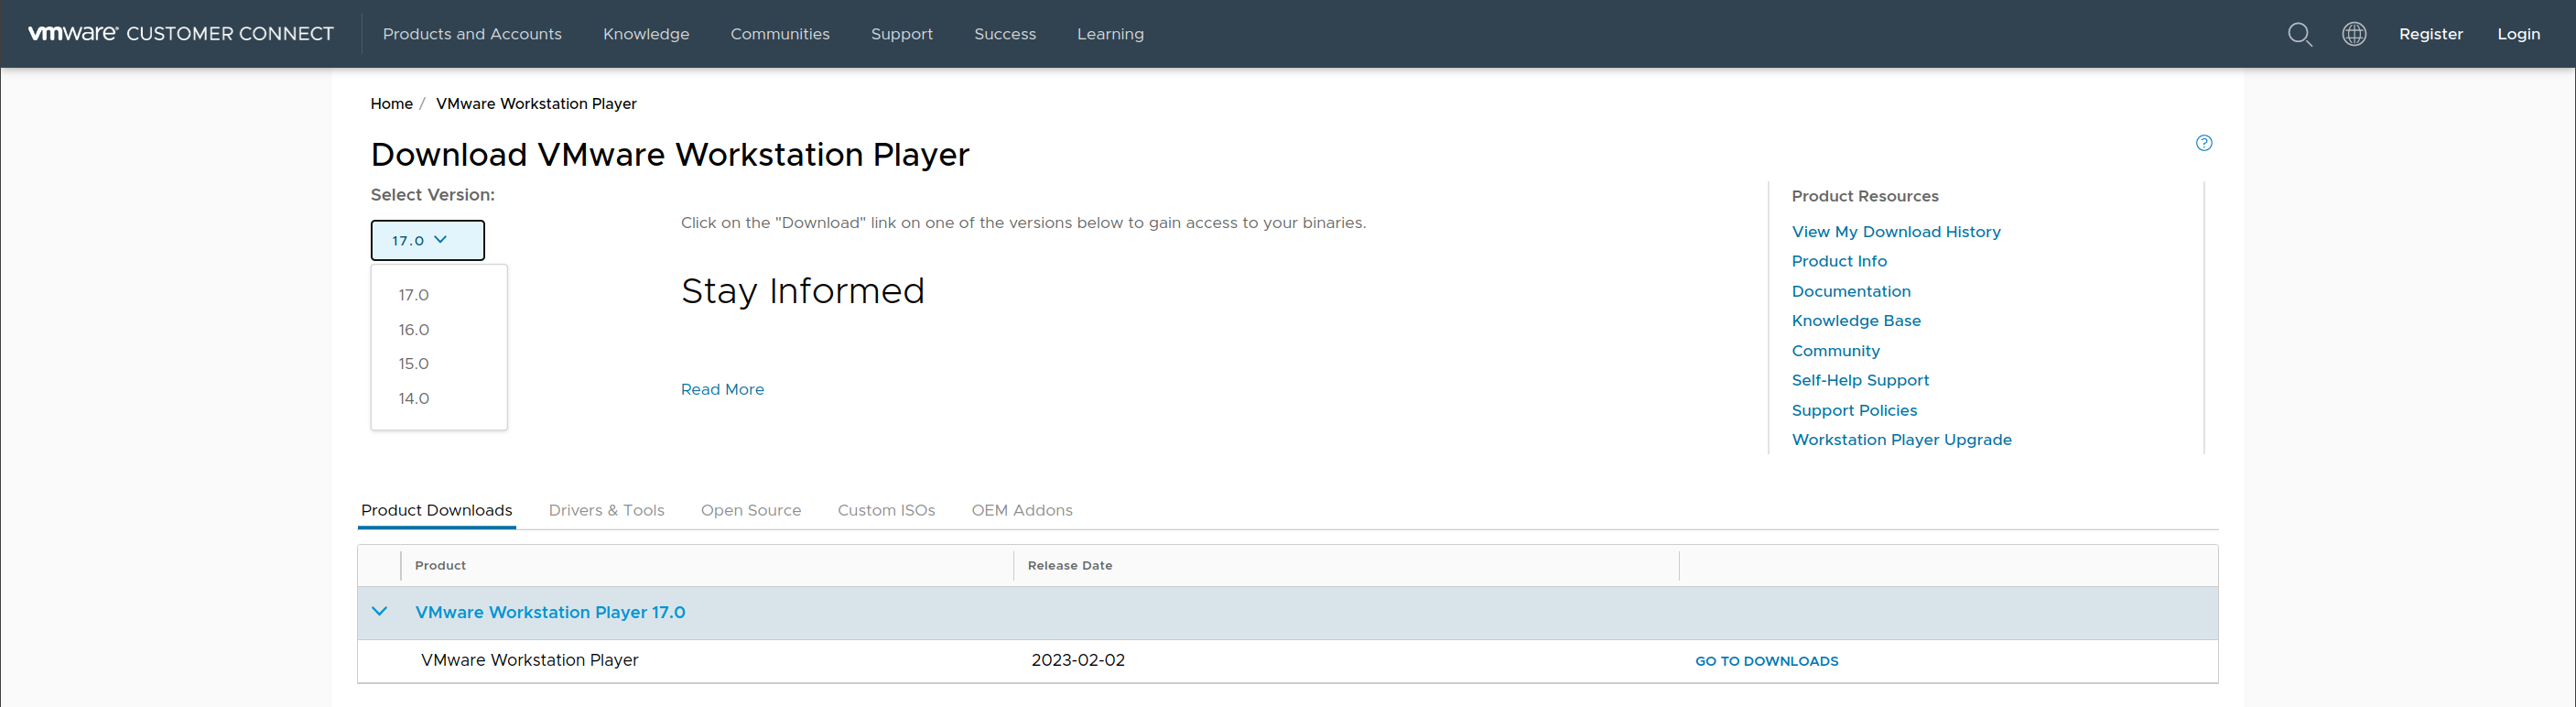
Player는 Pro와 달리 GO TO DOWNLOADS를 누른 후에 Windows/Linux 선택해서 다운로드하는 방식이다. 이 파일은 .deb가 아닌 .bundle 파일이다. 그냥 실행 권한 주고 실행시키면 자동으로 설치된다.
chmod +x VMware.bundle
sudo ./VMware.bundle
sudo apt -y install wireshark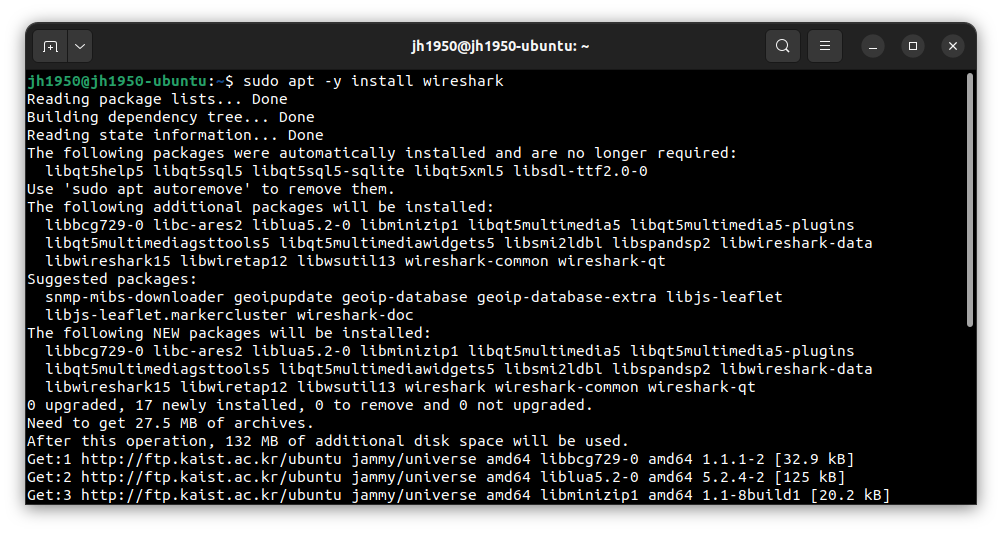
https://docs.gns3.com/docs/getting-started/installation/linux/
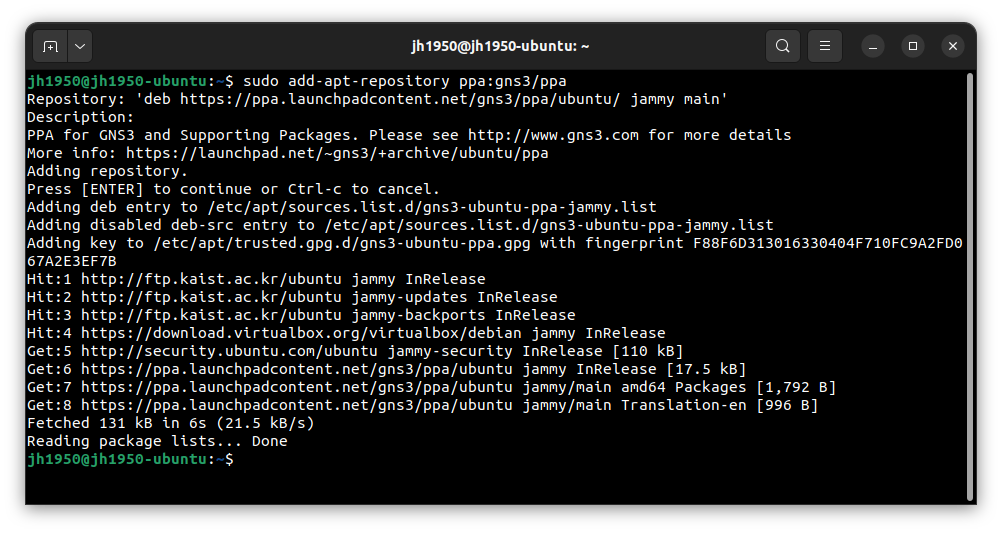
sudo add-apt-repository ppa:gns3/ppa
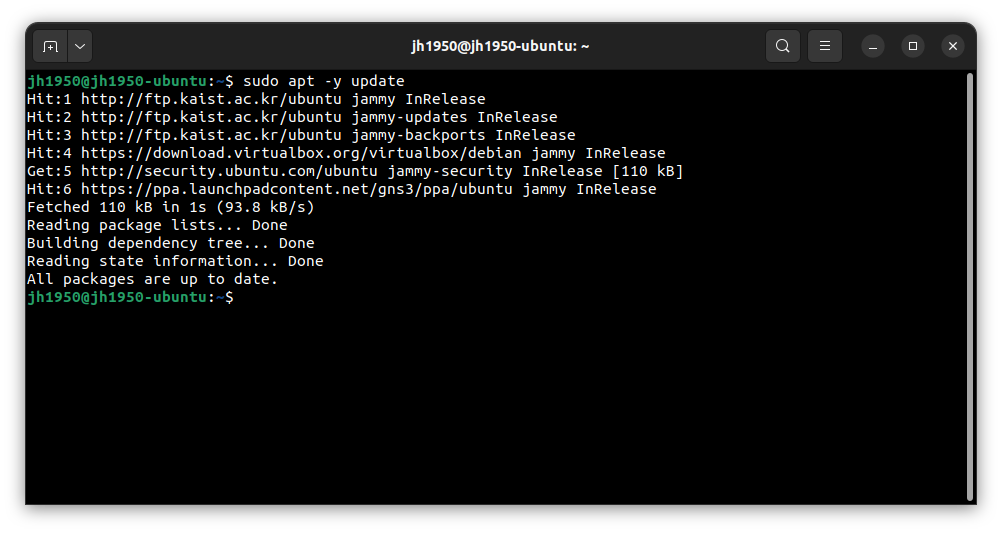
sudo apt update
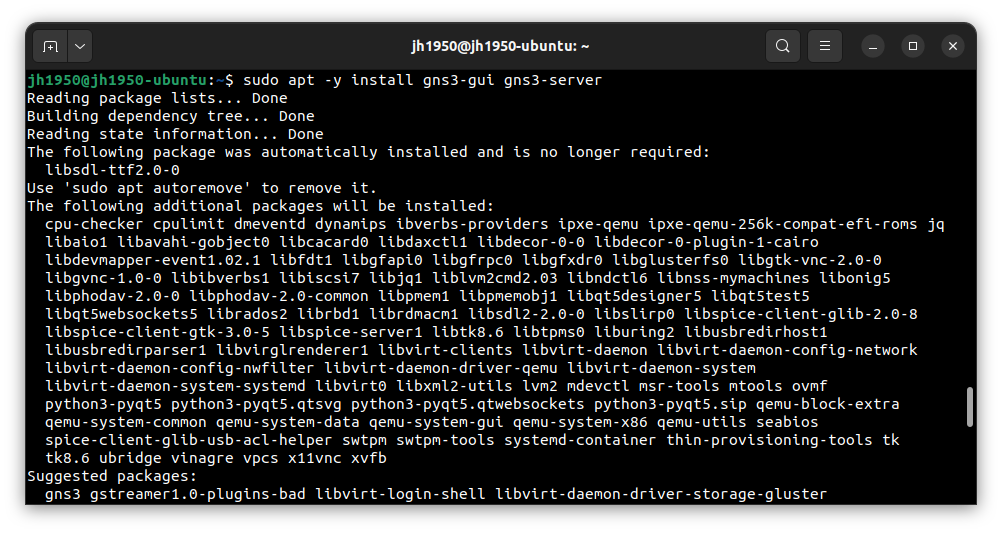
sudo apt install gns3-gui gns3-server설치 시 Wireshark가 자동으로 설치된다.
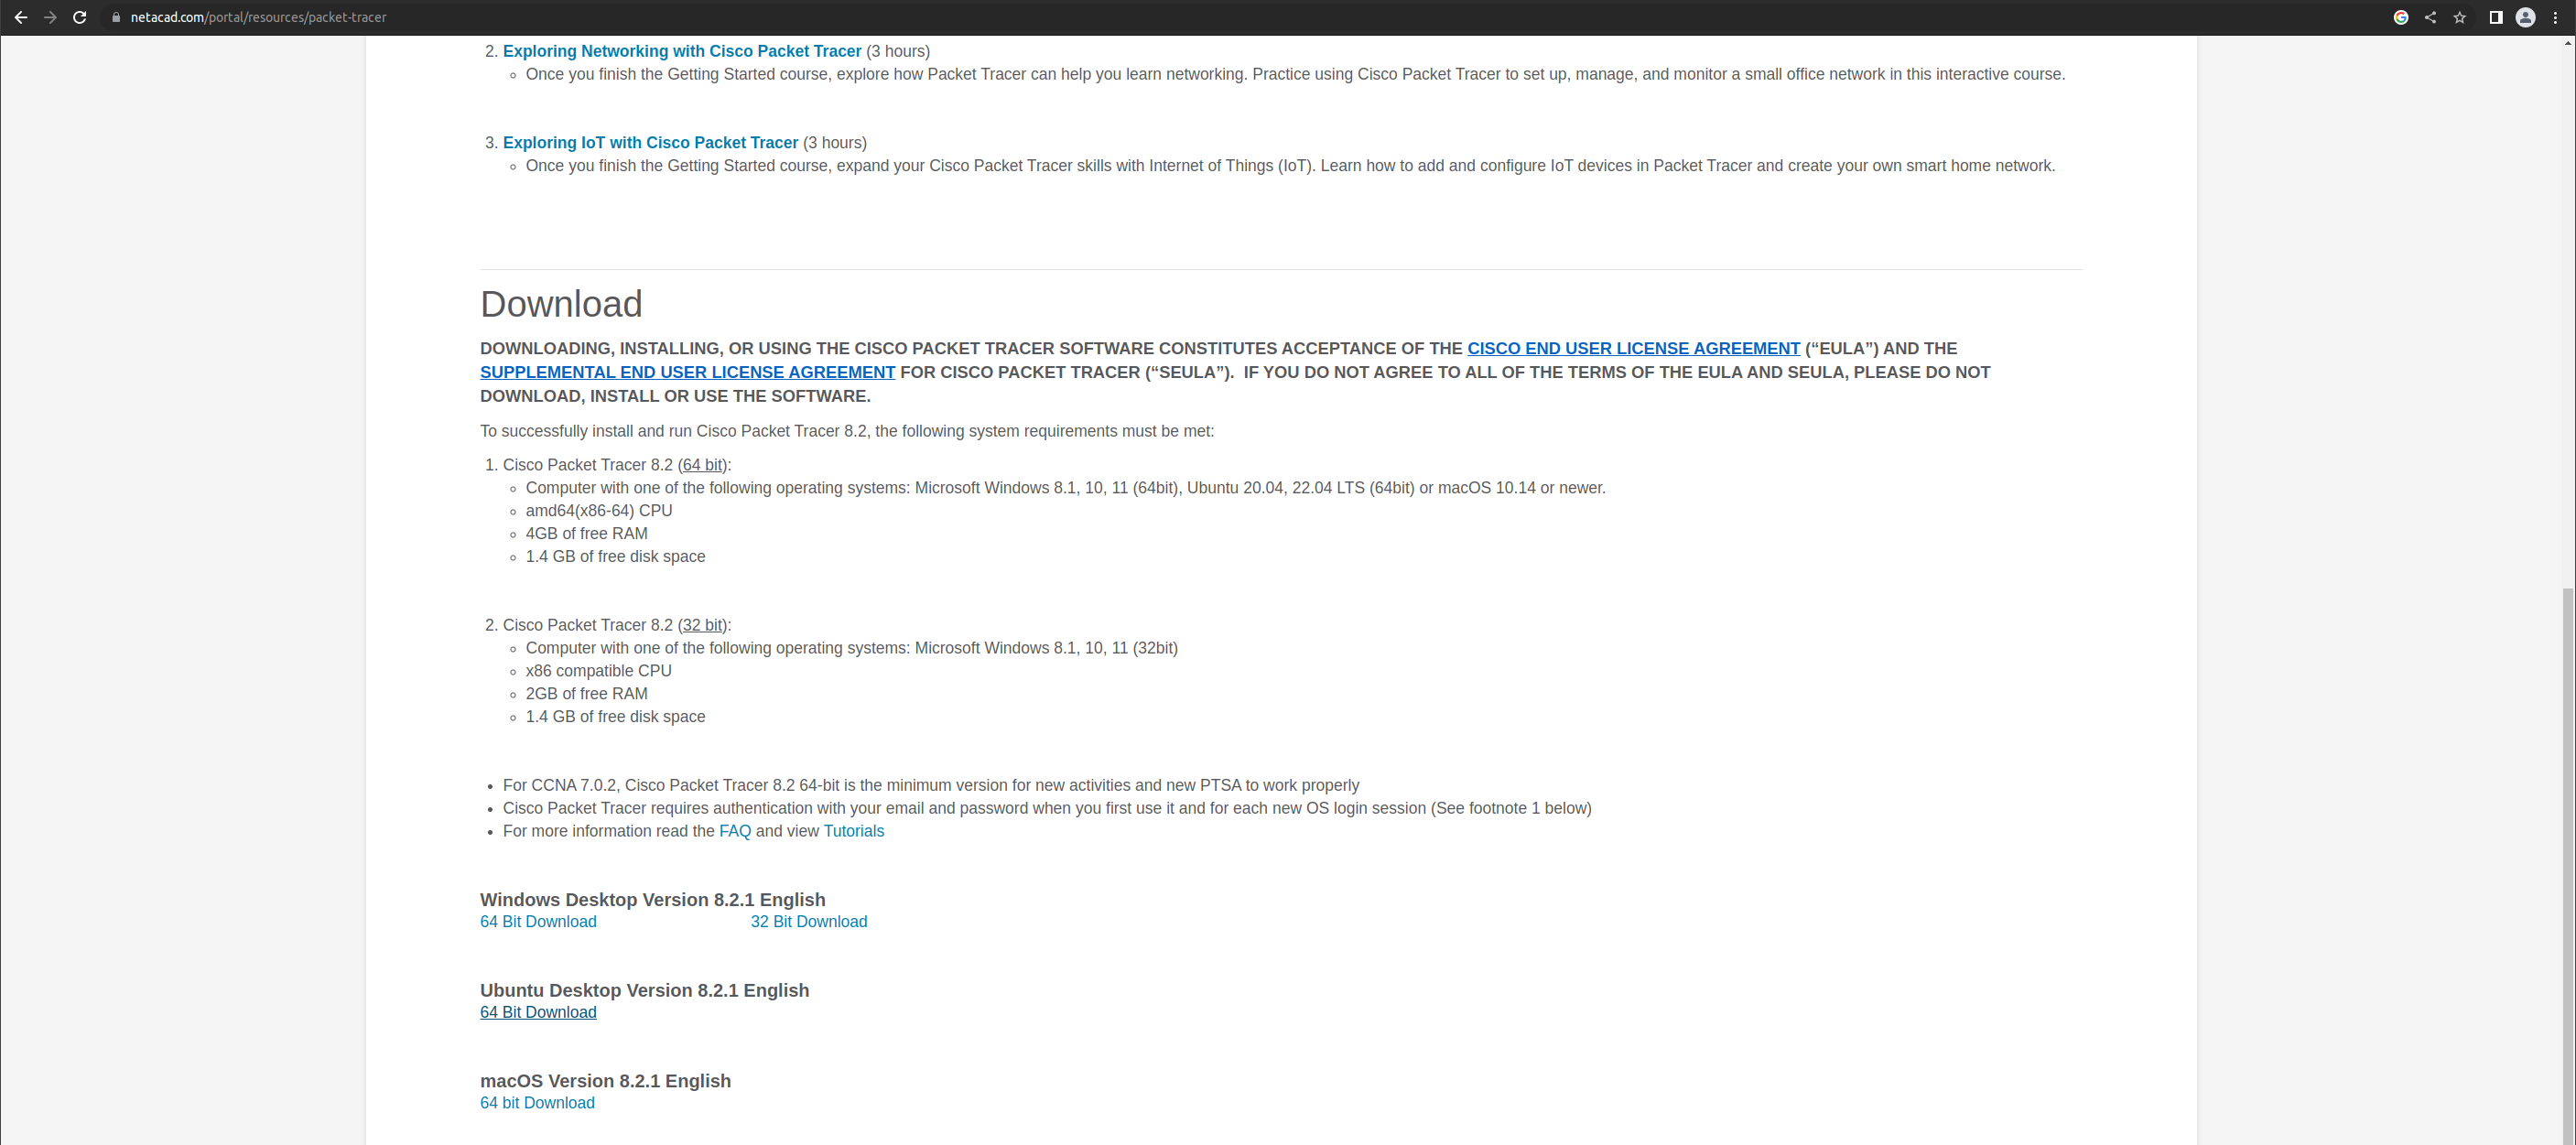
https://www.netacad.com/ 로그인 후 Resources - Download Packet Tracer 접속

스크롤 내리다 보면 우분투용 다운로드 파일이 있다.
dpkg로 설치
sudo dpkg -i CiscoPacketTracer.deb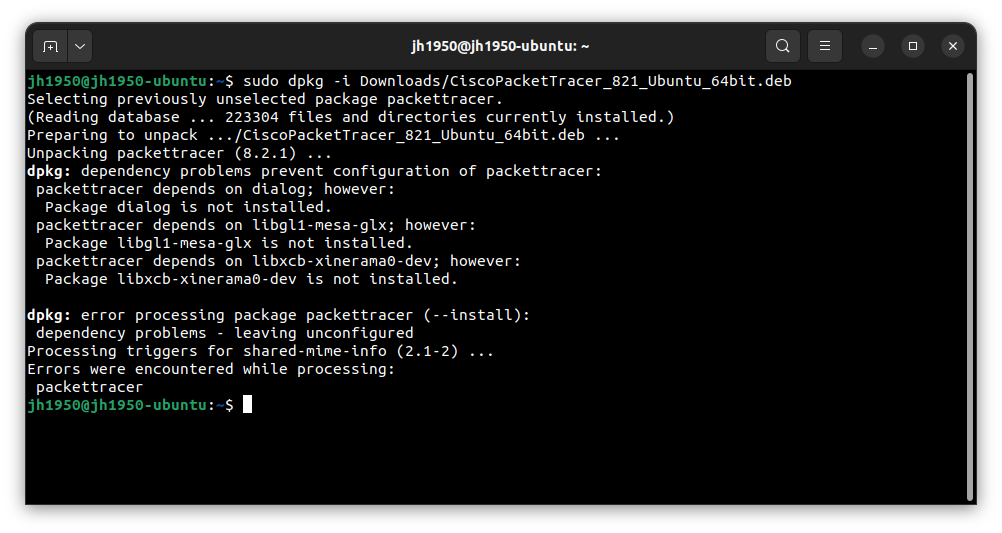
VirtualBox와 비슷한 에러가 뜬다.
VirtualBox와 마찬가지로 아래 명령어를 입력하면 된다.
sudo apt install -f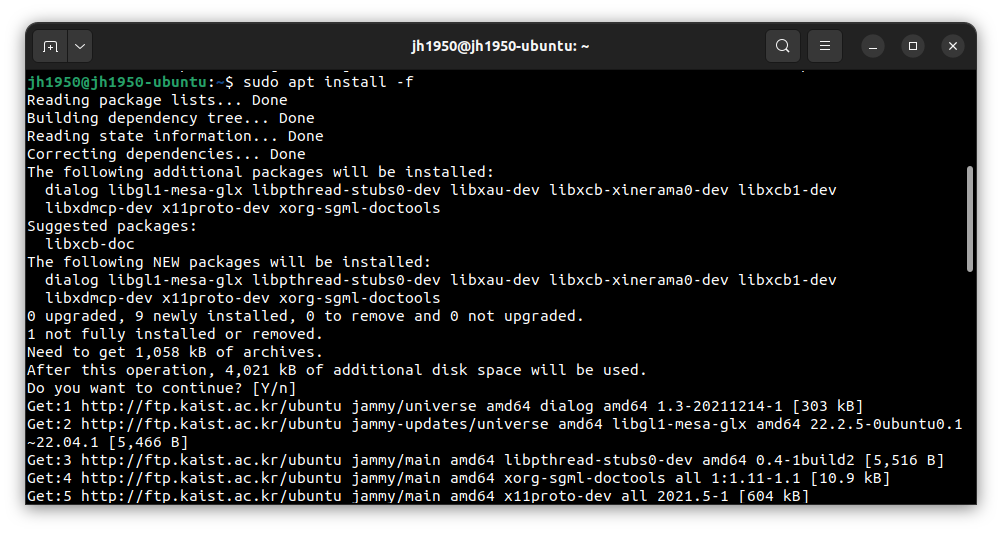
현재 apt install nodejs로 설치 시 최신 버전이 아닌 12.x 버전이다. 최신 버전을 설치하려면 PPA를 추가해야 한다.
https://nodejs.org/ko/download/current에서 LTS 및 최신 버전 확인
원하는 버전으로 PPA 추가
curl -sL https://deb.nodesource.com/setup_20.x | sudo -E bash -
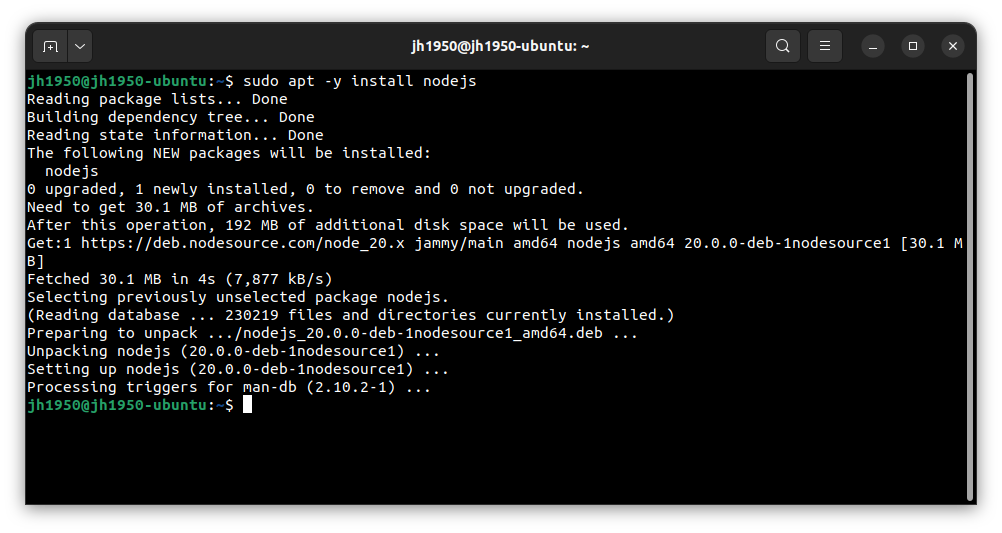
sudo apt -y install nodejs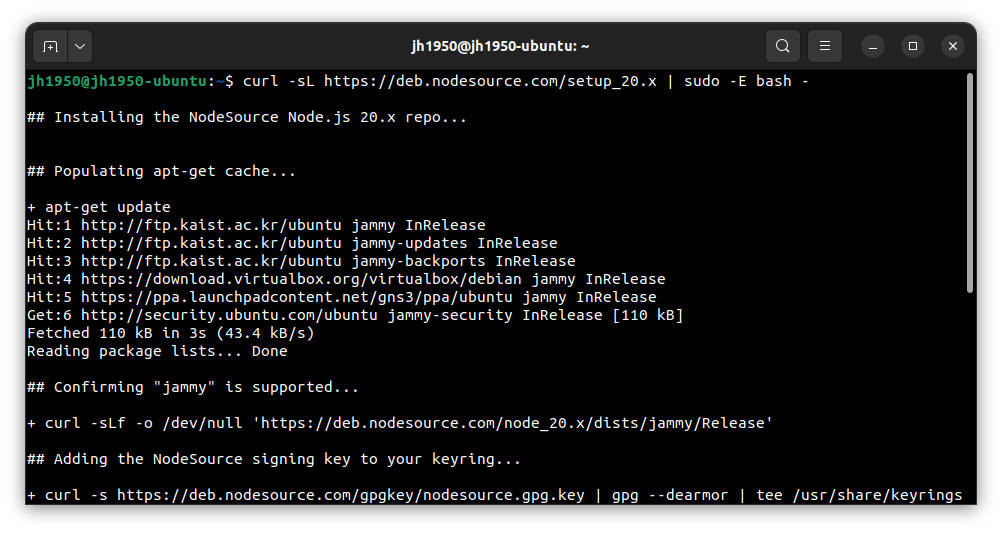
https://rclone.org/downloads/ 접속 후 Intel/AMD - 64 Bit 중 .deb 파일 다운로드 후 설치
sudo dpkg -i rclone.deb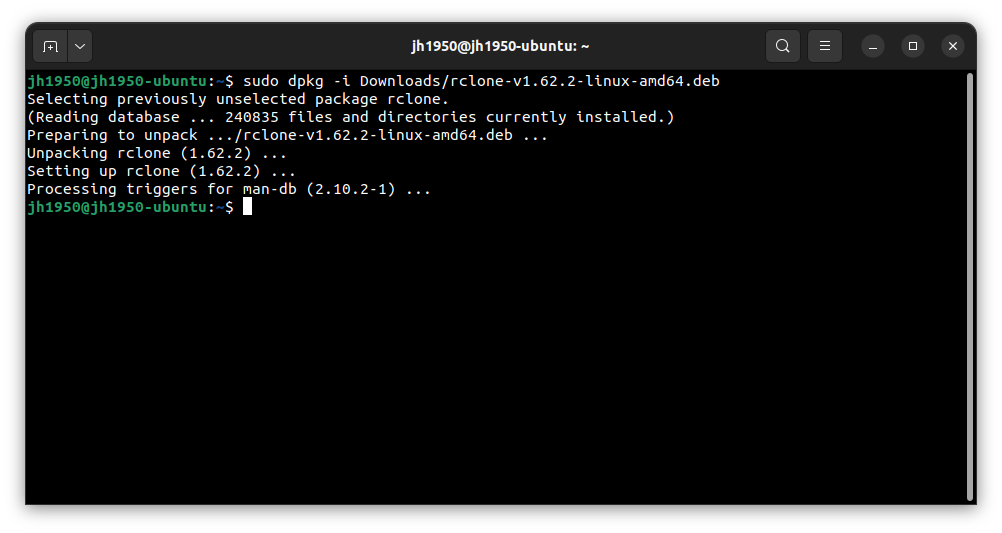
아나콘다 설치 및 실행 (Linux)
리눅스 배포판 종류와 상관없이 설치할 수 있다. 설치 다운로드 페이지에 접속 후 리눅스 버전으로 다운로드 bash로 설치 shellbash Anaconda3.sh 1그냥 엔터 라이센스다. q를 누른 후 yes 입력 설치할 경로 선택. 기본값은 홈 디렉토리에
리눅스에서 카카오톡 사용하기
이 글에서는 우분투에 설치했지만 Flatpak을 사용하기 때문에 리눅스 배포판 종류와 상관없이 설치할 수 있다. 다만 카카오톡이 열리는데 시간이 약간 오래 걸린다. 원래 wine도 약간 느리긴 하지만 이건 아무래도 bottles을 통해 실행해야 하니 더 느리다. 실행이
Comments
Not supported comment edit and upvote
You can do it on this page if you want.